AI & Agents
Ask AI, build agents, choose providers, and manage threads.
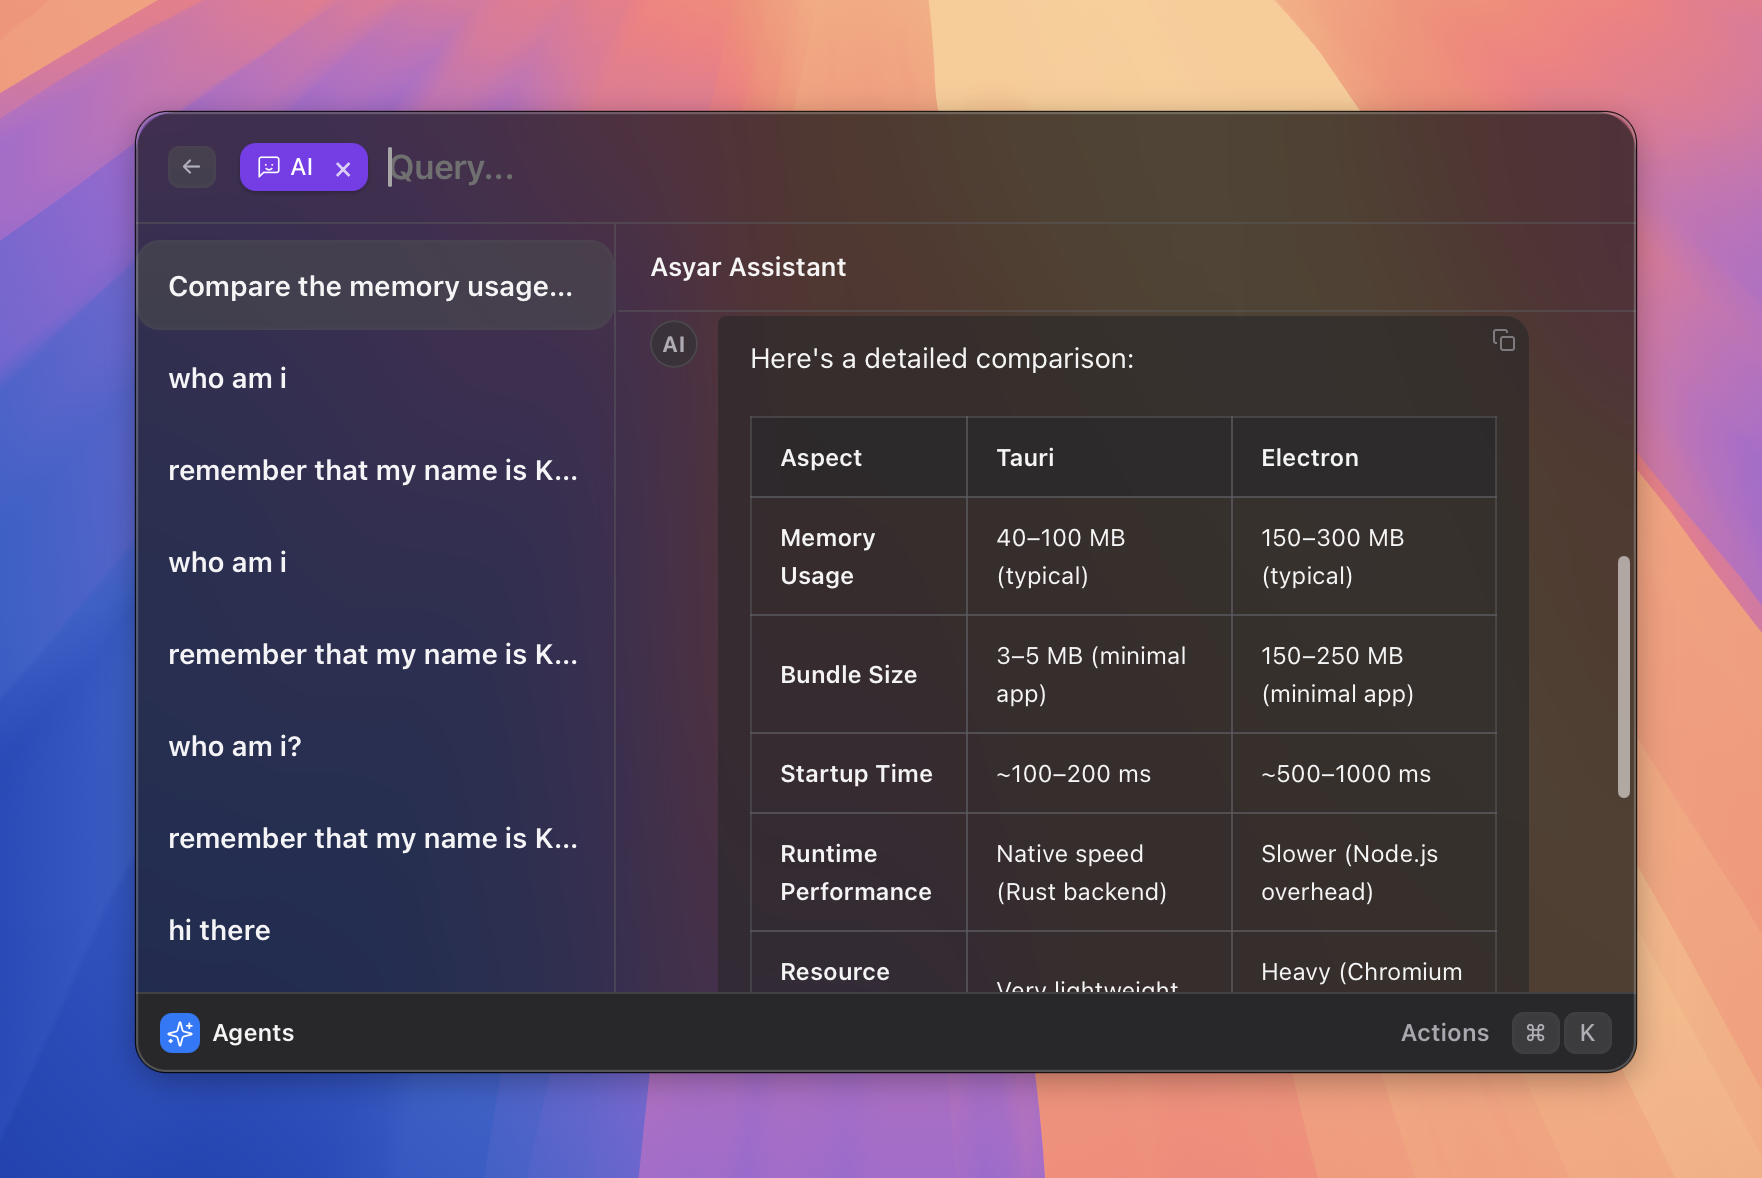 Figure: the agent chat view streaming a reply.
What it does
Asyar has a built-in AI assistant that works directly from the search bar. Press Tab to enter AI mode, type your question, and press Enter. The reply streams in line by line inside a chat view. Every conversation is saved in a thread so you can come back to it later.
Beyond the quick-ask flow, you can create custom agents — each agent has its own name, system prompt, AI provider, model, and set of tools it is allowed to use. Agents can also run silently: no chat view opens, they just take input (from the launcher bar, selected text, or the clipboard), run in the background, and put the result back (replacing your selection, pasting at the cursor, copying to the clipboard, or showing a HUD message).
How to use it
Ask AI quickly
- Open Asyar with your global hotkey.
- Type your question (or just start typing and notice the
⇥ Ask AIhint in the bottom bar). - Press
Tabto enter AI mode — the search bar shows an AI indicator. - Press
Enterto send. The reply streams into the chat view. - Keep typing in the search bar and press
Enteragain to continue the conversation.
Manage agents
- Search for Manage Agents and press
Enter, or typemanage agents. - Select an agent from the list and press
Enterto open its chat. - To create a new agent, open the action panel with
⌘Kand choose New Agent. - Fill in the name, optional description, system prompt, provider, model, and which tools the agent can use.
- Press Save.
Configure AI providers
Before you can use any agent, you need to add at least one AI provider:
- Open Settings (
⌘,) and go to the AI tab. - Click + Add provider and choose from: Anthropic, OpenAI, Google, Ollama, OpenRouter, or Custom.
- Expand the provider row and enter your API key (and base URL if required).
- Newly added OpenAI and Custom providers use the Responses API format by default. Existing provider settings without an API-format choice continue using Chat Completions. If an endpoint does not implement
/responses, choose Chat Completions (widely compatible). - Click Test & Fetch Models to verify your credentials and load the available models.
- Select a model from the list (or type one manually if the list is empty).
- Choose a Reasoning level below the model when you want to trade response speed for more model work. Model default leaves the choice to the model and is the default setting.
- The first provider you configure becomes the default automatically. To change the default, click the star (★) on any other configured provider row.
Advanced settings (temperature and max tokens) are available under the Advanced section at the bottom of the AI tab.
Reasoning is provider-neutral in Asyar. Each adapter translates the selected level to its native API shape for OpenAI, Anthropic, Gemini, OpenRouter, Ollama, or a compatible Custom endpoint. The levels shown are limited to those advertised by the provider or selected model. Unsupported models may still reject an explicitly selected level; switch back to Model default in that case.
Enable OpenAI Hosted Web Search on an OpenAI provider, or on a Custom provider that points to a compatible OpenAI/Codex proxy. In Responses mode Asyar sends the native web_search tool; compatible Custom proxies may also translate it from Chat Completions mode. Search uses a medium context on every request, including requests that also contain built-in or MCP function tools. It uses the provider's existing authentication and does not require a separate search API key. Leave it off for endpoints that do not support OpenAI-hosted tools.
Threads
Each agent keeps its conversation history in threads. Inside the chat view:
- Use
↑/↓to move between threads in the sidebar. - Press
Enter(with an empty search bar) to open the selected thread. - Open the action panel (
⌘K) to start a new thread, delete the current thread, or cancel a running response.
Quick AI commands (silent agents)
A silent agent runs in the background with no chat window. You trigger it with a global hotkey, it grabs some input, does its work, and puts the result right back — all without you needing to open the launcher or read a chat thread.
 Figure: select text in any app, press the hotkey, and a silent agent replaces it with the result.
The built-in Grammar Fix command
During onboarding, Asyar offers to create a Grammar Fix silent agent for you (the "One-keystroke AI commands" step). It is set up with:
- Input: the text you have selected in whatever app you are using.
- Output: the corrected text replaces your selection instantly.
- Hotkey: ⌘⇧L on macOS / Ctrl+Shift+L on Windows and Linux (you can change it at any time).
So the workflow is: select some text → press the hotkey → done. No windows, no copy-paste.
Create your own silent agents
- Open Asyar and search for Manage Agents, then press
Enter. - Open the action panel with
⌘Kand choose New Agent. - Fill in the name and the system prompt that tells the agent what to do.
- Turn on "Run silently (no chat view)".
- Choose an input source — where the agent gets its text:
- Argument — you type the input directly in the launcher bar when you trigger it.
- Selected text in the active app — whatever you have highlighted.
- Clipboard contents — the last thing you copied.
- Nothing — the agent runs with no input (useful for things like "tell me a joke").
- Choose an output action — what happens with the result:
- Replace the selection — rewrites the text you had selected.
- Paste at the cursor — inserts the result where your cursor is.
- Copy to clipboard — puts the result on your clipboard so you can paste it yourself.
- Show as a HUD message — displays a floating notification with the result.
- Optionally assign a global hotkey to this agent so you can trigger it without opening the launcher.
- Press Save.
Example ideas
| What you want | Input source | Output action |
|---|---|---|
| Fix grammar in an email | Selected text | Replace selection |
| Translate a paragraph | Selected text | Replace selection |
| Summarise a copied article | Clipboard | Show as HUD |
| Rewrite in a formal tone | Selected text | Replace selection |
| Explain a term you typed | Argument | Show as HUD |
Shortcuts & actions
| Action | How |
|---|---|
| Enter AI mode | Tab from the search bar |
| Send a message | Enter (while in AI mode or inside the chat view) |
| Open Manage Agents | Search "Manage Agents" → Enter |
| New Agent | ⌘K → New Agent (in Manage Agents view) |
| Edit Agent | ⌘K → Edit Agent |
| Delete Agent | ⌘K → Delete Agent |
| New Thread | ⌘K → New Thread (in chat view) |
| Delete Current Thread | ⌘K → Delete Current Thread |
| Cancel a running response | ⌘K → Cancel Run |
| Navigate threads | ↑ / ↓ |
Tips
- The Tab continues last thread toggle in Settings → AI controls whether pressing
Tabalways resumes your most recent conversation or starts fresh each time. - Silent agents are great for quick text-transformation tasks: grammar fix, translation, summarise selection — trigger from the launcher, result appears instantly.
- When you edit an agent's provider or model, the default agent (the ★ one) is updated too, so
Tabfrom the search bar always uses the same model you expect. - Tools shown in the agent editor come from built-in tools and any MCP servers you have installed. See the MCP page for how to add more.