MCP
Connect external tools to your agents.
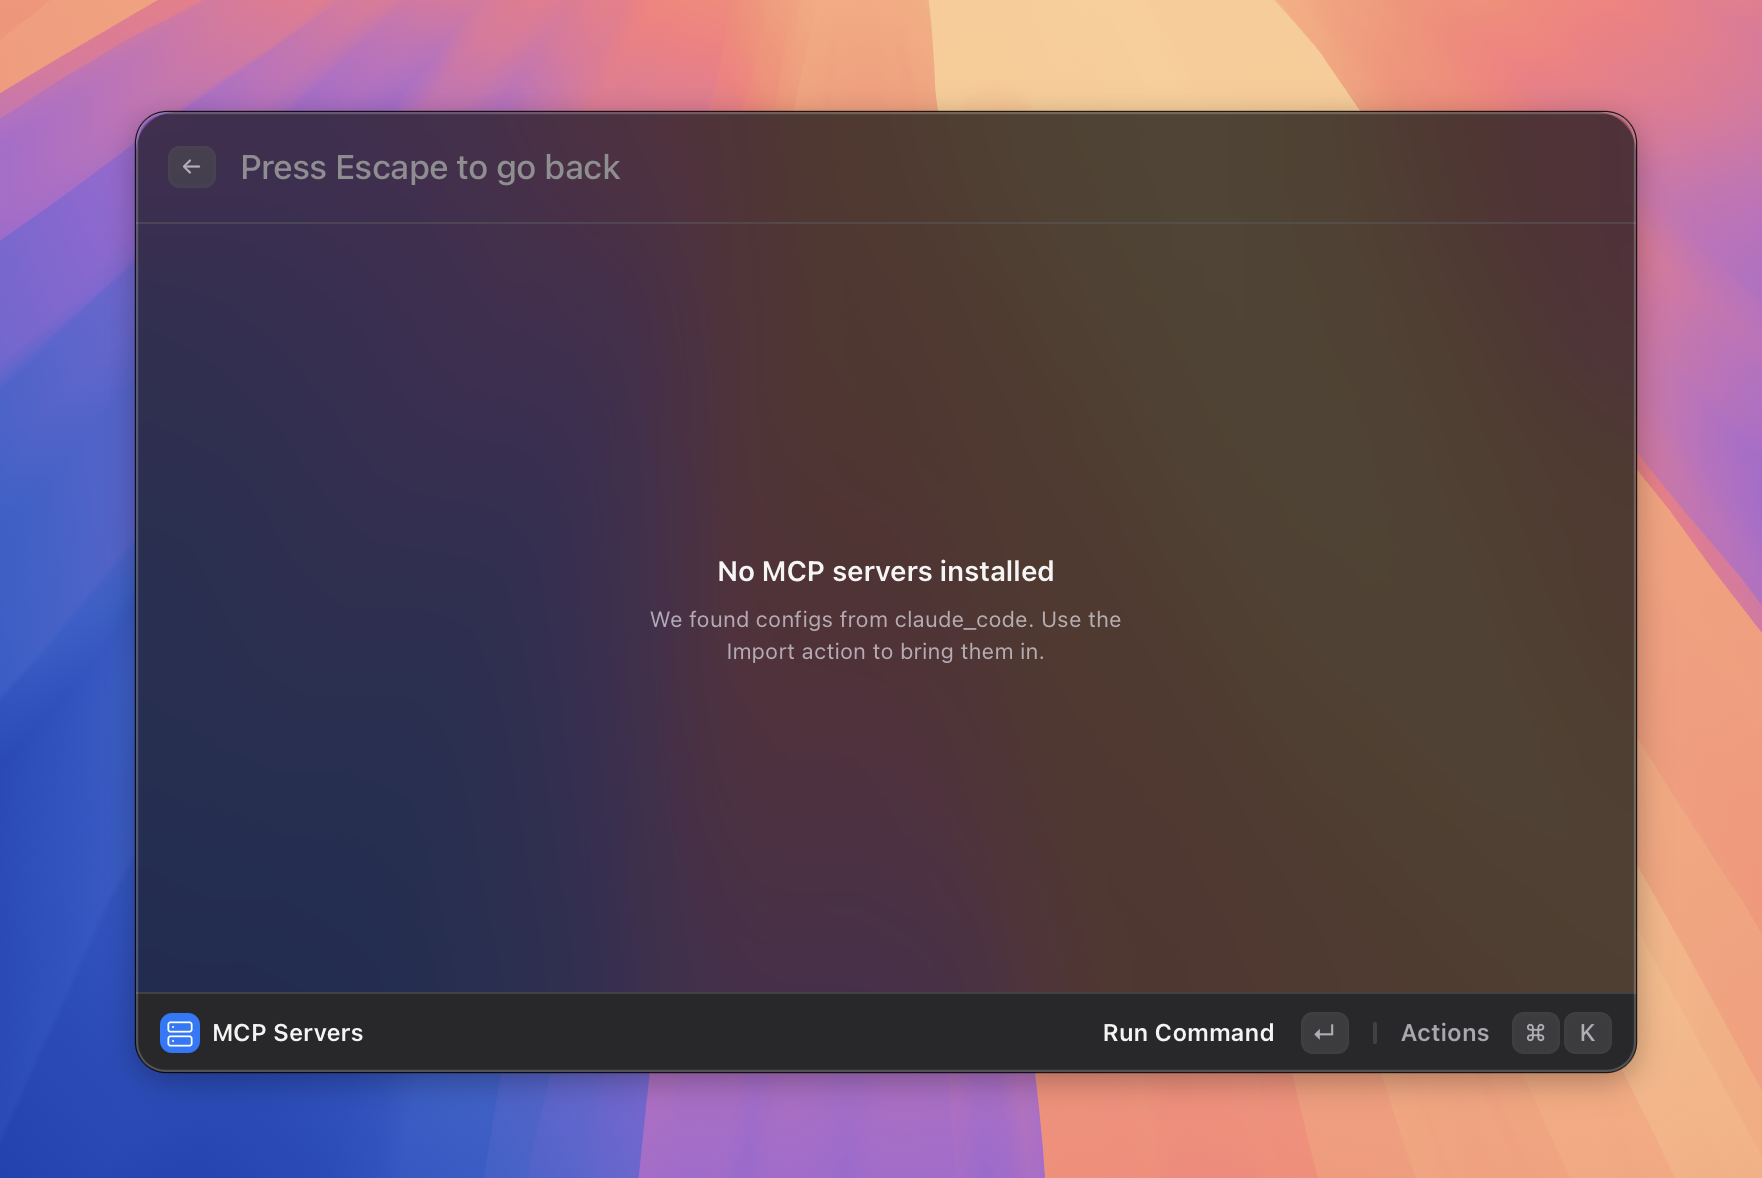 Figure: the Manage MCP Servers view.
What it does
MCP (Model Context Protocol) servers are external programs that expose tools — things like reading files, querying databases, calling APIs, or running web searches. When you connect an MCP server to Asyar, its tools become available to your agents. You pick which tools each agent is allowed to use in the agent editor.
Asyar supports two ways to connect an MCP server: stdio (a local process you start via a command) and HTTP (a remote server you reach by URL).
When an agent calls an MCP tool, Asyar can ask your permission first. You can allow the call once, allow it always, or deny it. Saved permission decisions live in the Permissions view so you can review and revoke them.
How to use it
Install a new server manually
- Search for Install MCP Server in Asyar and press
Enter. - Fill in the form:
- ID — a short unique name for this server (e.g.
my-server). - Display Name — the label shown in the UI.
- Transport — choose Stdio (local process) or HTTP (remote URL).
- For Stdio: enter the Command to run (e.g.
npx) plus any Arguments and Environment Variables. - For HTTP: enter the server URL and any required Headers.
- ID — a short unique name for this server (e.g.
- Click Test Connection to verify the server starts and lists its tools.
- Click Install.
Import from an existing config
If you already use MCP servers in another app (such as Claude Desktop), Asyar can detect those configs automatically:
- Search for Import MCP Servers and press
Enter. - On the From Detected Configs tab, tick the servers you want to bring in and click Import Selected.
- Alternatively, switch to the Paste JSON tab, paste your config JSON, click Parse, then select and import.
Manage installed servers
- Search for Manage MCP Servers and press
Enter. - Each server shows its current status (starting, connected, failed, or disabled) and how many tools it exposes.
- You can enable or disable individual servers from this view.
Assign tools to an agent
- Open Manage Agents, select an agent, and open it in the editor (
⌘K→ Edit Agent, or create a new one). - In the Tools section, check the MCP tools you want the agent to be able to use.
- Save the agent.
Strict mode
When strict mode is on, every MCP tool call asks for your permission — even for tools you previously allowed. The badge Strict appears in the top-right of the Manage Servers view when strict mode is active.
Shortcuts & actions
| Action | How |
|---|---|
| Open server list | Search "Manage MCP Servers" → Enter |
| Install a new server | Search "Install MCP Server" → Enter |
| Import from existing configs | Search "Import MCP Servers" → Enter |
| Go back | Esc |
Tips
- After installing a server, edit the relevant agent and check the new tools in the Tools picker. Tools are grouped by server.
- If Test Connection shows an error, double-check the command path (use an absolute path if needed) and that any required environment variables are filled in.
- Saved permission decisions (allow always / never) persist across restarts. Review them in the Permissions view, which is accessible from the Manage Servers view.
- You can import servers from multiple sources at once using the detected-configs tab — Asyar shows which config file each server came from so you know where it originated.